Building a Chicken Coop

For a twelve year old, I would say that I have made a lot of chicken coops.
Previous Builds
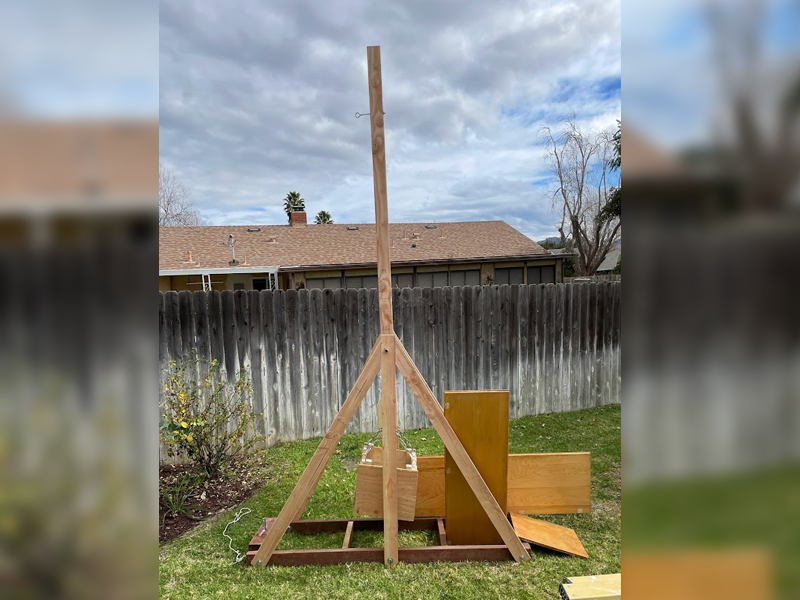
Build #1: Small A-Frame
The first one we made was a small red coop we made for three muscovy ducks.There were a lot of things we liked about it. It was small and lightweight which meant it was easy to build and move. But it wasn’t perfect.. First of all, Its slanted design meant both the dog and children could climb up the side. The chicken wire in those areas didn’t last very long. Secondly, the coop could only fit four or five chickens. When we wanted to get more chickens, we had to build a new coop. Armed with learnings from our first coop, we dreamed up what we began to call our ”chicken palace.”
Build #2: The "Duck Palace"
This second coop would be a lot bigger and immobile. {TODO: put something about choosing the right spot} First we dug a foot or two and put concrete blocks and gravel for a solid foundation. It was going to be a big coop with high ceilings, six nesting boxes and a little enclosed area for warmth and shelter. The rest was painted 2x4 with chicken wire. We bought seven hens and they loved the coop we made for them. We had ¼ of an acre at the time so we let them free range.
Building Coop #3
Fast forward to early 2022. My parents decided that we were going to move to Arizona. After a few weeks looking for houses, we finally found the perfect home. It was a 10 acre property with a decent sized house and granny unit in the back. One of my mom's friends was moving out of town at almost the same exact time we were moving into town. She had 28 chickens that needed a home that she asked us to adopt. We willingly said yes, but due to her schedule, she asked us to take them as soon as possible.
How Fast Could We Build?
We hoped we could get a chicken coop built in three weeks, but it ended up taking five weeks. That might seem like a long time to put up for walls and a roof, but we were only working on the weekends because my dad has a full time day job. Another thing that set us back was that we didn't have all of our tools. In particular, we had let my grandpa borrow our miter saw, which meant it was stuck in California. The circular saw wasn't horrible, but I'm definitely more comfortable with the miter saw. Because the flock would be so large, we knew it would have to be the biggest coop we’ve ever made.
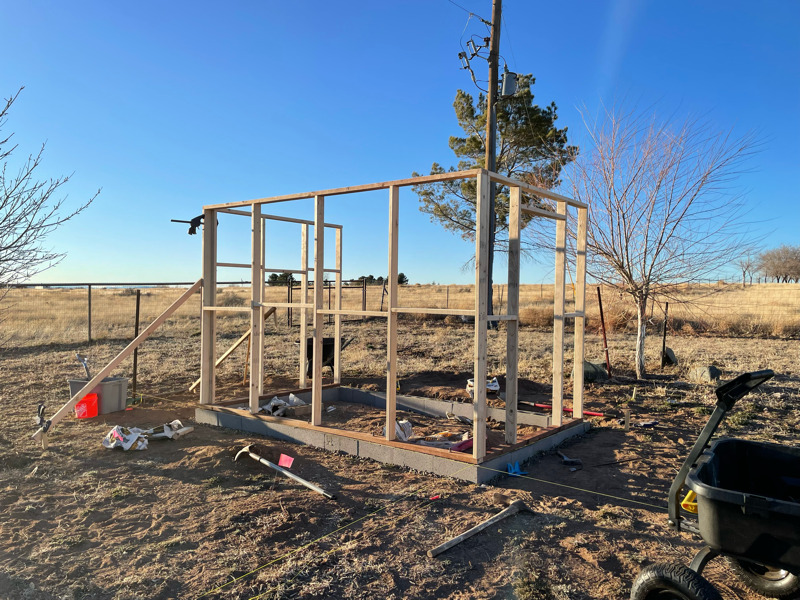
Foundation & Framing
Armed with experience of building two chicken coops, we felt pretty comfortable setting out to construct a third. We chose to make a foundation out of cinder blocks and gravel. After the cinder blocks were laid down, we poured concrete into them to weigh the coop down. The high winds we get in the area made us a little nervous about making the whole thing heavy and sturdy enough. Next we framed the walls and attached them to the foundation with bolts we had set in the concrete.
The Roof Goes Flying
After we attached most of the wall pannels we attempted to attach the roof. My dad bought some of the wrong screws (too short), but he thought it would probably be fine. The next time we went to Home Depot we grabbed some of the correct screws. As soon as we got home we were told that the roof had flown off of our coop. It was a windy day and the screws were meant to fasten to sheet metal, not wood, so it made sense. With the roof attached for the second time we attached the rest of the walls.
Paint & Trim
The next big task was to paint the whole coop. My dad did some research on paint guns and decided we should get one. Once we got it we tested it out, it worked great and was going to save us hours of painting. We also had to build a door. It had a simple, sturdy design. Once we got it assembled we put it on the coop. It looked great and the chicken coop was almost done. The only thing we had left to do was the trim. After we nailed the trim in the chicken coop was finished. We had done it! That night we brought the chickens home.
Lessons Learned
All was not lost because I learned something. I acquired a new skill and gained some valuable wisdom.
- You should buy a paint gun. It saves you hours of painting with a roller.
- If you buy the wrong screws just get the right ones. Don’t try to improvise.
- An impact driver is the tool for the job.
- Our new neighbors mentioned wanting help building a coop, and at this point I'm confident that I can build a chicken coop. <!--
Pictures

My sisters helped dig out the trench for our cinder block foundation.

All framed with one wall panel in place.

Fully painted, but still without all the trim.
-->